Curves: No, I am not a fan of exercising. And this is not about joining a fitnessclub or something.
THIS is about the 2nd round of the Stay at Home Round Robin on adding curves to the center block. Here is the link for Anja's blog for the inspiration and her version: Curves From there, you can find links to the other quilters in the group. Maybe you will want to join???
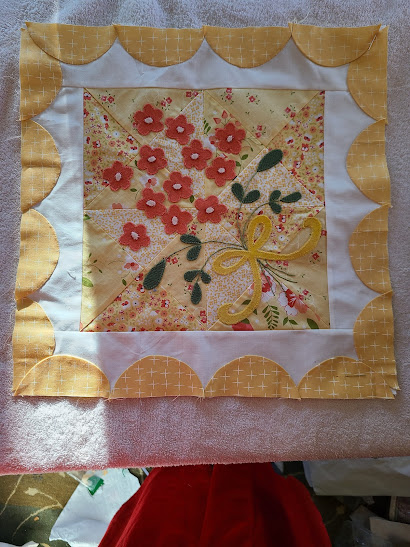
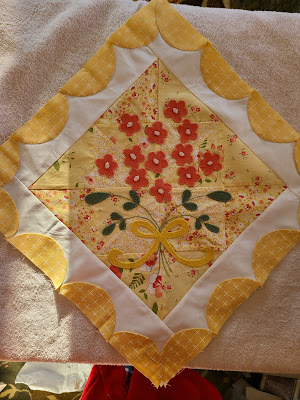
Here is my finished project turned on its side for the first round around the center. It is not a very good photo, due to the sun.
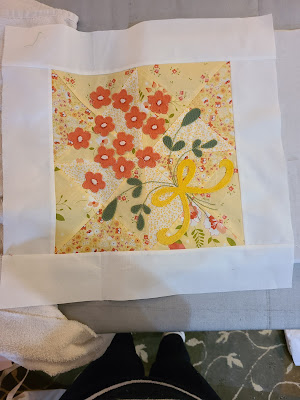
First I started with adding a 2 1/2 inch border to the block.
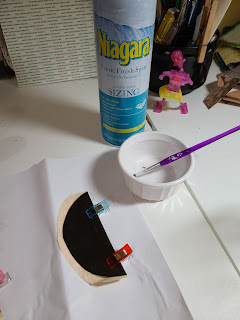
Then I toyed with the design, and created templates from x-ray film. ( cheap substitute for template plastic) I had lots of trimming and measuring to get it to fit. And yes, I knew the corners were going to overlap.
I then used fabric sizing sprayed into the white bowl. I would have used spray starch, but we are all out.
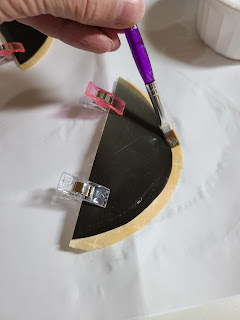
The liquid gets painted onto the borders to saturate itand then ironed onto the film.
The ironing dries the sizing making the appropriate shape.
I used the three film curves over and over and made 16 blocks.
The next step was to "glue" the shapes onto the border. I had Roxanne's Glue Baste it, but it is old and I instead just used a pointed tooth pick from Cracker Barrel to dot the edges and hold them onto the border.
Lastly I hand appliqued the shapes around all the edges.
Finit!
I cannot take credit for this technique. I learned it from Erin Russek of One Piece at a Time, her blog.
I have followed her for years. She now works at a Quilt Magazine in Denver. So very talented !
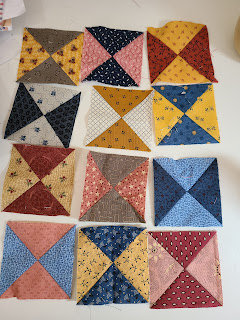
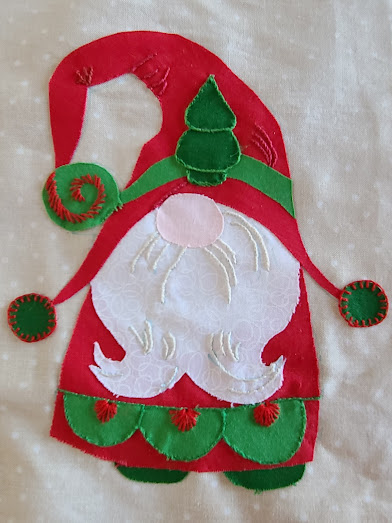
Here is the last block of Erin's Peppermint Twist blocks she did in December.

